Blog
Preparing Your Home’s Exterior for a Desert Paint Job: Timing and Prep That Actually Lasts
That $6,000 paint quote you got last spring might as well be a donation to the weather. In the desert, the difference between a finish that lasts a decade and one that chalks in three years has almost nothing to do with the brand of paint in the can. It's about when the roller touches the wall and how you prep the surface underneath. Most homeowners get this backward.
Here's the promise: by the
time you finish this, you'll know exactly how to schedule a desert exterior
paint job, what prep work actually matters, and the questions to ask any
contractor before they set up a single ladder. This is the stuff pros in hot, dry
climates check before they open a single bucket.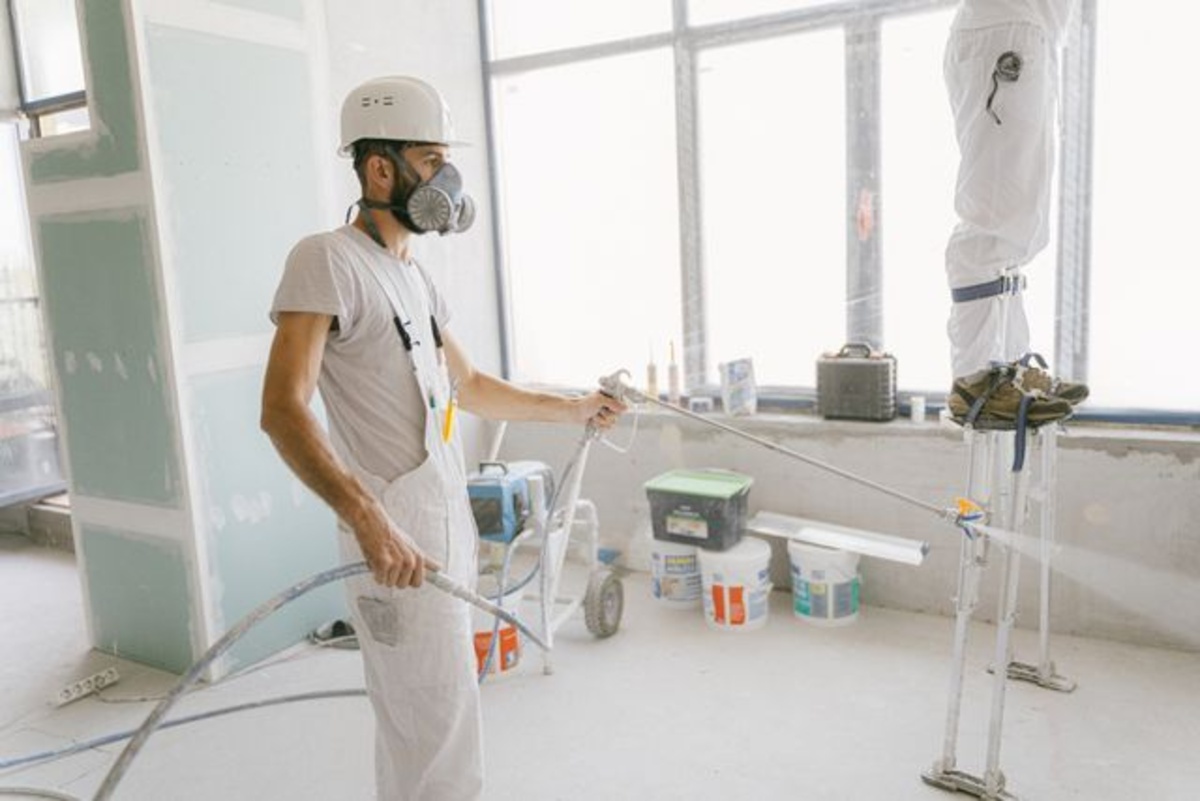
Photo by Antoni Shkraba
Why Desert Heat Destroys Paint Faster Than Most
People Realize
Your paint isn't just sitting on the wall. It's a thin plastic film that has to cure, and curing is a chemical reaction driven by temperature and moisture. In a place like St. George, Utah, where summer highs push past 110 degrees for weeks at a stretch, that reaction goes sideways fast.
When surface temperatures climb above roughly 90 degrees, the solvents in the paint evaporate before the film can set properly. The result is a crusty, porous layer that grabs onto dust, chalks in the sun, and lets water sneak in during the monsoon season. And here's the kicker: the air in the desert is so dry that the paint's water content disappears before the colorants and binders have merged. You get a finish that looks fine from the street for about a year, then starts peeling in sheets.
There's a reason the U.S.
General Services Administration publishes strict temperature windows for
exterior coating application on its federal projects. Their paint removal and
application guidance, last updated in 2022, explicitly states that solvent-based
coatings lose film integrity when applied outside the manufacturer's
recommended surface temperature range. Most manufacturers print that range
right on the can, usually 50 to 85 degrees, and virtually nobody reads it.
The Sun's Path Is Your Real Scheduling Tool
Here's the thing nobody warns you about: the air temperature telling you it's 95 degrees is a lie. The wall facing west might be sitting at 130 degrees of radiant heat. You can't trust the thermometer on your phone, you have to trust the sun's position across your specific elevations.
The smart play is to break the job into zones based on shade, not on how many gallons each wall needs. A north-facing wall in the morning is a completely different surface than that same wall at 2 PM. Painting crews that work in the desert understand this and sequence their work by which elevations are in shade at which hour.
Here's a practical way to think about it:
●
Morning shift (6 AM to 10 AM): East and
south elevations. These catch early sun but haven't baked yet.
●
Midday (10 AM to 2 PM): Do prep work,
caulking, and primer in shaded areas. No top coats.
● Afternoon (4 PM to dusk): West and north elevations as the sun drops and the siding cools.
This choreography is the
single biggest reason two identical paint jobs on identical houses end up with
completely different lifespans. I'd take a mediocre paint applied at the right
temperature over a premium paint slapped on a 110-degree west wall every single
time.
Surface Prep Is Non-Negotiable in Low-Humidity
Climates
Here's where most DIY attempts and even some contractors cut corners. In a humid climate, paint has a little grace. In the desert, it has none. The surface you paint over needs to be clean down to the substrate, because there's no moisture in the air to help the paint "grab" onto anything dusty or chalky.
Before a single coat goes on, three things have to happen:
Power washing with the right pressure. Most homeowners blast their siding at 3,000 PSI and strip the top layer of the material itself. A proper wash runs around 1,500 PSI, wide fan tip, held at an angle so water doesn't get forced up under the siding. You're cleaning, not renovating.
Scraping and sanding every loose spot. In older desert homes, especially those built in the 1970s through 1990s, you'll find failing paint that's holding on by a thread. Every single loose flake has to go, and the edges need to be feathered smooth. Paint applied over a rough edge will telegraph that seam right through the new coat.
Priming bare spots with a
bonding primer. Stucco, in particular, is porous and alkaline. A quality
acrylic primer seals the surface so the top coat doesn't get sucked into the
substrate, which is why some desert paint jobs look patchy within a year. The
primer is not optional, it's the insurance policy for the whole project.
A Pre-Paint Checklist You Can Actually Use
You want a system, not a vibe. Print this out and walk
your house before anyone shows up with a ladder:
●
Check the forecast for rain and high wind.
Monsoon storms in the southwest roll in fast, and a surprise shower within 24
hours of application ruins the cure. A study on moisture intrusion in building
envelopes, published in the Journal of Building Engineering in 2022, found
that premature moisture exposure during coating cure is a leading cause of film
failure in desert climates.
●
Verify surface temperature with an infrared
thermometer on every elevation, not just one wall. They're cheap, about $25
online.
●
Caulk every gap wider than a credit card edge.
Windows, door frames, corners, and where the stucco meets the foundation.
●
Ask your painter what time they plan to start
and which walls they'll hit first. If they say "we just go around the
house," that's a red flag.
●
Confirm the paint's minimum film formation
temperature. That number, printed on the spec sheet, tells you the lowest
temperature at which it will cure properly.
What To Ask a Contractor Before You Sign
You're hiring judgment, not just labor. The right questions separate a crew that treats this as a science from one that treats it as a way to fill a Tuesday.
Ask them about their monsoon contingency plan. A pro will tell you they watch the radar and pause the job if storms are tracking your way. A bad one will say they can "work around it." You do not work around a rain event that hits a 90-degree wall.
Ask them about their warranty and what voids it. A two-year labor warranty is standard. What matters more is whether they'll honor it if the paint fails due to application temperature. A crew that sequences by shade is standing behind their process. A crew that just sprayed and prayed will find a way to blame the product.
And ask about how they
handle stucco versus siding. These are completely different surfaces with
completely different prep requirements. Stucco needs a high-build primer to
fill the porous texture. Wood siding needs nail punching and spot priming. If
they give you one answer for both, walk.
Striking the Balance Between Cost and Longevity
Here's the honest math. The cheapest bid in the desert
is almost always the most expensive one in the long run. A $4,000 paint job
that fails in three years costs you $1,333 a year. A $7,000 paint job done with
proper prep and timing that lasts eight years costs you $875 a year. The second
one saves you money on a per-year basis, and it doesn't include the headache of
repainting while your landscaping gets trampled again.
That said, you shouldn't pay a premium for a fancy brand name. Mid-grade acrylic latex paints from major manufacturers perform admirably in heat and sun. What you're paying for in the higher bid is the labor discipline: the proper prep schedule, the shade-chasing, the surface temperature checks. That labor is what makes the difference, not a sticker on the can.
If all of this feels like a
lot to track, that's because it is. A good contractor handles these variables
as a matter of course. That's exactly what you're hiring for, and it's the
reason a crew with real experience in your specific climate is worth the premium.
When you're ready to move, finding solid exterior painting services that already
understand how to work around desert heat saves you from having to micromanage
the process yourself.
The Finish Line Is Only the Beginning
The day the last coat goes on is not the end. It's the
start of a maintenance relationship with your siding. Walk the perimeter every
spring and look for chalk residue on your hands when you rub the wall. That's
early warning of UV degradation. Check for cracks around windows where water
can sneak behind the paint film.
A desert paint job you planned and scheduled with care is the kind that outlives the contractor's warranty. It's the kind that makes the neighbor ask who did your house. And it's the difference between treating your home's exterior as a recurring expense or a long-term asset.
So here's the question: is the paint on your walls right
now a cost you're already repaying, or an investment you're still collecting
on?
Photo Gallery



Comments