Blog
Troubleshooting an Oven With Uneven Baking Results
Nothing is more frustrating than pulling a tray of cookies from the oven only to find the ones at the back charred while the front ones are still doughy. Uneven baking is one of the most common oven complaints, yet it’s often fixable without replacing the entire appliance. Whether you’re dealing with a gas or electric model, old or new, understanding the root causes can save time, money, and a lot of ruined recipes. If the problem persists after basic checks, professional appliance repairs coquitlam can diagnose deeper electrical or gas issues safely.
Below is a step-by-step guide to identifying and resolving uneven baking, from the simplest fixes to the ones that usually require tools or a technician.

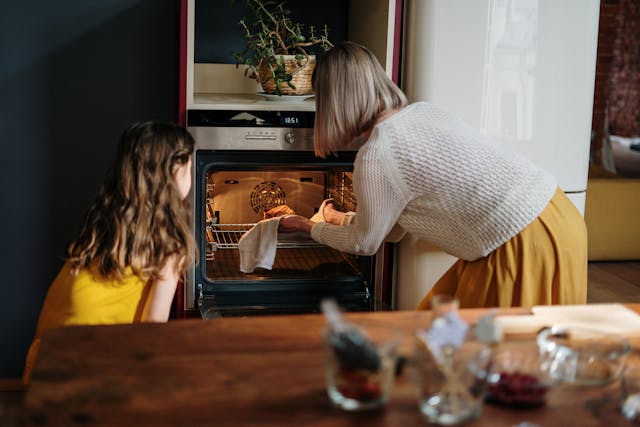
Photo by cottonbro studio
1. Rule Out User Error First
Before blaming the oven, double-check how you’re using it.
Overcrowding the oven − Too many pans block airflow. Hot air needs space to circulate. Use only one rack whenever possible, or stagger pans so they don’t sit directly above or below each other.
Wrong rack position − Most recipes assume the rack is in the center. Too high and food browns too fast on top; too low and the bottom burns before the center cooks.
Dark vs. light pans − Dark metal absorbs heat faster than shiny aluminum. If one tray comes out darker, switch to lighter pans or lower the temperature by 25 °F (15 °C).
Foil on the rack or floor − Foil reflects heat and creates hot spots or blocks vents in electric ovens.
Fix these habits first. If the problem disappears, you’ve saved yourself hours of troubleshooting.
2. Perform a Simple Oven Temperature Test
Ovens can run 25–75 °F off the set temperature, or cycle too widely. An inexpensive oven thermometer (under $10) is the best tool here.
How to test:
Place the thermometer in the center of the middle rack.
Preheat to 350 °F (175 °C).
Wait 15 minutes after the preheat beep.
Check the reading every 10 minutes for an hour.
What the results mean:
Steady ±10 °F of target → normal.
Consistently 25–50 °F too hot or cold → calibration needed (see section 4).
Swings more than 50 °F → faulty thermostat or sensor.
3. Check for Obvious Hot and Cold Spots
Even if the average temperature is correct, some ovens have dead zones.
The biscuit (or toast) test:
Cover a baking sheet with slices of white bread or store-bought biscuits in a grid pattern.
Bake at 350 °F for about 8–10 minutes.
Look for patterns: back left corner always burnt? Front right always pale?
Mark the hot and cold zones with painter’s tape on the door glass for future reference. You can often work around them by rotating pans 180° halfway through baking.
4. Calibrate the Oven (If Your Model Allows)
Many modern ovens let you adjust the thermostat ±35 °F.
Gas ovens: Look for a calibration dial or digital offset in the owner’s manual.
Electric ovens: Usually accessed by pressing “Bake” and a number key simultaneously (e.g., Bake + 6 on some GE models). Consult the manual for the exact sequence.
If the manual is missing, search “make + model + calibration instructions” – most manufacturers have PDFs online.
5. Inspect and Clean the Door Seal
A worn or dirty gasket lets heat escape, especially along the top or sides.
Run your hand (carefully, when cool) around the closed door. Feel air leaking?
Clean the gasket with warm soapy water; avoid harsh chemicals.
Check for tears or flattening. Replacement seals are inexpensive and usually snap or slide into place.
6. Level the Oven
An oven that’s even slightly off-level circulates hot air unevenly.
Place a bubble level on the center rack.
Adjust the feet or shims under the appliance. On ranges, you may need to pull it out and turn the leveling legs with a wrench.
7. Electric Ovens: Test the Heating Elements
Electric ovens have two main elements—bake (bottom) and broil (top)—plus a convection fan in some models.
Visual inspection:
Turn on Bake at 350 °F. The bottom element should glow orange-red evenly within a minute.
Turn on Broil. The top element should glow evenly.
Common patterns:
Only half the element glows → element is failing (replace).
Element glows but food still bakes unevenly → possible bad relay on the control board.
Hidden bake element (under the floor):
Newer ovens hide the lower element. If you suspect it, remove the bottom panel inside the oven (two screws at the back). Look for burn marks or breaks.
8. Gas Ovens: Check the Igniter and Flame Pattern
Gas ovens use a glow-bar igniter that must reach ~1800 °F to open the gas valve.
Symptoms of a weak igniter:
Takes >60 seconds to light.
Flame is yellow/orange instead of blue.
Uneven left-to-right baking (common when the igniter is off-center).
A failing igniter is the #1 cause of uneven temperatures in gas ovens. They cost $40–$120 and are a moderate DIY job, but gas lines require caution.
Burner baffle and flame spreader:
Lift the oven floor panel. The long metal diffuser above the burner should be straight and rust-free. A warped baffle creates hot spots.
9. Convection Fans (If Equipped)
Convection ovens have a fan at the back to circulate air. A weak or noisy fan causes dramatic unevenness.
Turn on convection bake. You should feel strong airflow from the back vents.
Spin the fan blade by hand (oven cold and unplugged). It should turn freely.
Remove the rear panel inside the oven; clean dust from the blades.
A seized motor usually means replacement (part ~$150).
10. When to Call a Technician
Some issues are unsafe or impractical to fix yourself:
Error codes on digital displays (F1, F3, etc.).
Suspected control board failure.
Gas smell or any suspicion of a leak.
Oven trips the breaker repeatedly.
Hidden bake element testing requires moving the range and removing rear panels.
Quick Reference Checklist
☐ Test actual temperature with an oven thermometer
☐ Perform the biscuit/toast test for hot spots
☐ Rotate pans 180° halfway (temporary workaround)
☐ Clean door gasket and check seal
☐ Level the oven
☐ Inspect elements (electric) or igniter/flame (gas)
☐ Clean or replace convection fan if equipped
☐ Calibrate thermostat if possible
☐ Replace faulty element or igniter
☐ Call a technician for control board or gas valve issues
Long-Term Prevention Tips
Preheat fully—never put food in while the element is still cycling on and off.
Avoid opening the door repeatedly; each opening drops the temperature 50–100 °F.
Use an oven stone or steel on the lower rack to buffer temperature swings.
Schedule annual cleaning of vents and fan blades.
Replace door gaskets every 5–7 years as preventive maintenance.
Uneven baking is rarely a death sentence for an oven. In most cases, a $15 thermometer, a $40 igniter, or simply changing how you load the racks solves the problem completely. Start with the free and easy checks, work your way down the list, and you’ll be back to perfectly golden cookies and evenly risen cakes in no time.
If your oven is paired with a refrigerator that’s also acting up—warm spots, frost buildup, or strange noises—consider professional help for that appliance too. Local specialists in refrigerator repair Coquitlam can often service multiple appliances in one visit and save you additional service call fees.
Happy baking!
Photo Gallery


Comments